
For the most important part of the filming progress we first had to make sure that we understand how a camera works and how to set it up for basic filming. The technician in our media department helped us to gain the knowledge and skills we were missing out. Furthermore the whole process contained 3 lessons where we learned all the basics we needed to know to shoot a semi professional trailer. The first lessons content was to adjust the ISO and do a white balance, which basically refers to lighting adjustments. The second lessons content was to set up and use filming equipment such as the rig, tracking dolly or a tripod. The third lessons content was how to shoot a steadicam. The camera we used throughout all three lessons was a canon 600D. However in the first session we learned how to set up ISO and white balance on the canon 7D, which is the camera we are going to film our trailer with.
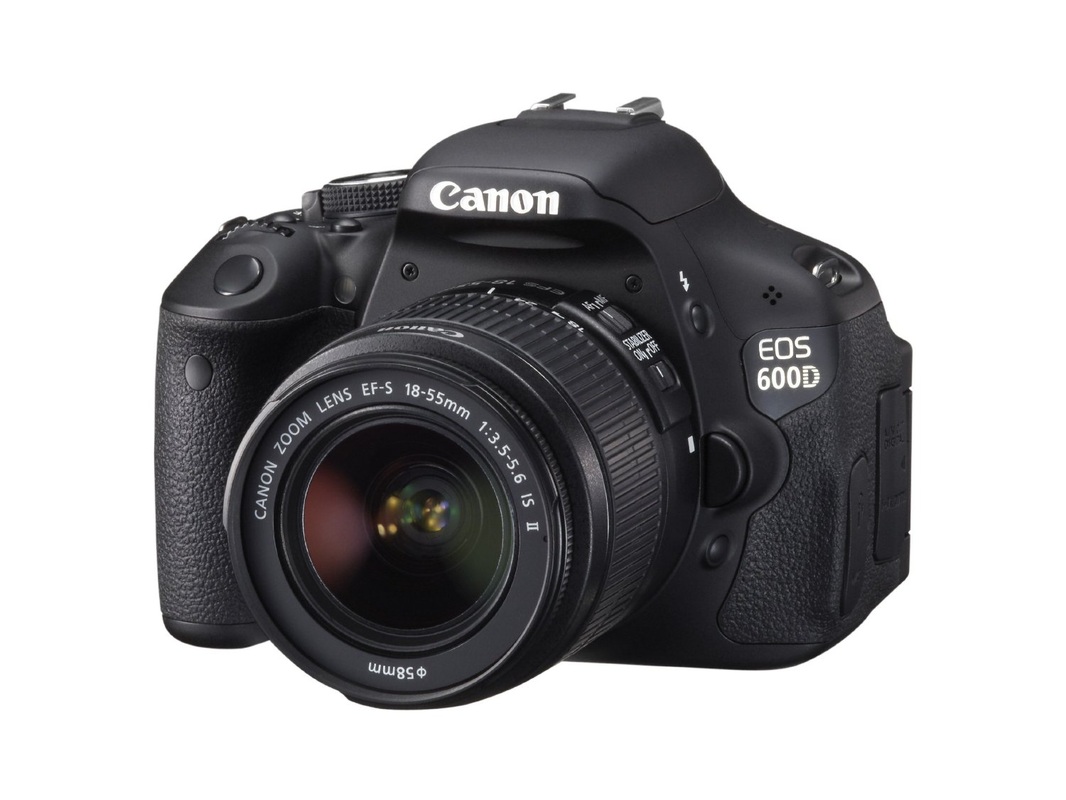
The 600D is built around an 18-megapixel, APS-C sized CMOS sensor and the same Canon DIGIC 4 processor as the 550D. Sensitivity remains pegged at a useful, if not class-leading, ISO 100-6400 with ISO 12,800 available in expanded mode.
Read more at. |

The 7D's 18 Megapixel APS-C CMOS sensor provides superb quality images with sufficient resolution. Furthermore the EOS 7D is Canon's first dual processor camera outside the EOS 1 range. Working alongside the sensor, two powerful DIGIC 4 processors bring impressive speed (8 frames per second in bursts of up to 94 JPEGs) and an extremely broad range of ISO performance (from 100 - 6400, expandable to an ultra-sensitive 12800).
|
Diary Log
This section explains briefly the experience I had while using the different camera equipment as well as it shows a video where we practiced a number of various shots.
|
This video gives a brief overview of what we have done during each of the three camera sessions. Firstly we learnt most of the basics around the camera, for instance how many mega pixel it has but also how to switch it into the video mode. It gave us a feeling of how the camera works. After we gained an overall knowledge of the camera, we learned how to set it up in terms of ISO and white balance as well as shutter speed. In the following sessions we focused more on how to use the camera equipment (track, tracking dolly, tripod and rig) rather than the camera settings, as we covered most of it during the first session. Lastly we then tried to shoot a number of various shots - which is seen in the next video on the right - to get a feeling of how close we have to go towards the person or how much to zoom in.
|
This video gives a brief overview of the number of shots we tried to film with the camera equipment over all three camera sessions. While trying to film an over the shoulder shot we made experiences such as not going to close to the person as well as keeping the camera in a steady movement behind the subject trying to have the typical 'over the shoulder' frame. Furthermore when doing a tracking shot it is crucial that the ground where the tracking dolly gets pulled over is even. Otherwise it wouldn't make a big difference to just lead the camera with hands. Lastly we tried to experiment with the tracks outside, where we tried to do a tracking shot while two people a walking towards the camera.
|

This picture shows the work during our second camera session. We were using the tripod and the tracks to shoot a high angle tracking shot.
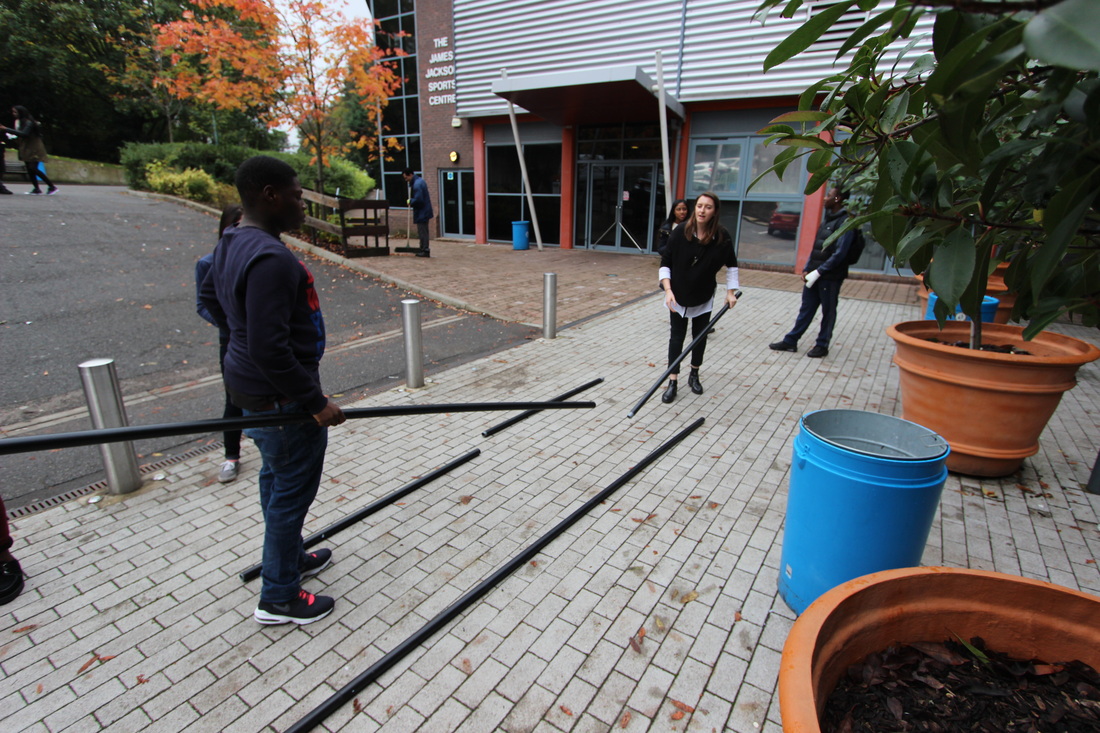
During our second camera session, while setting up the big tracking dolly.
|
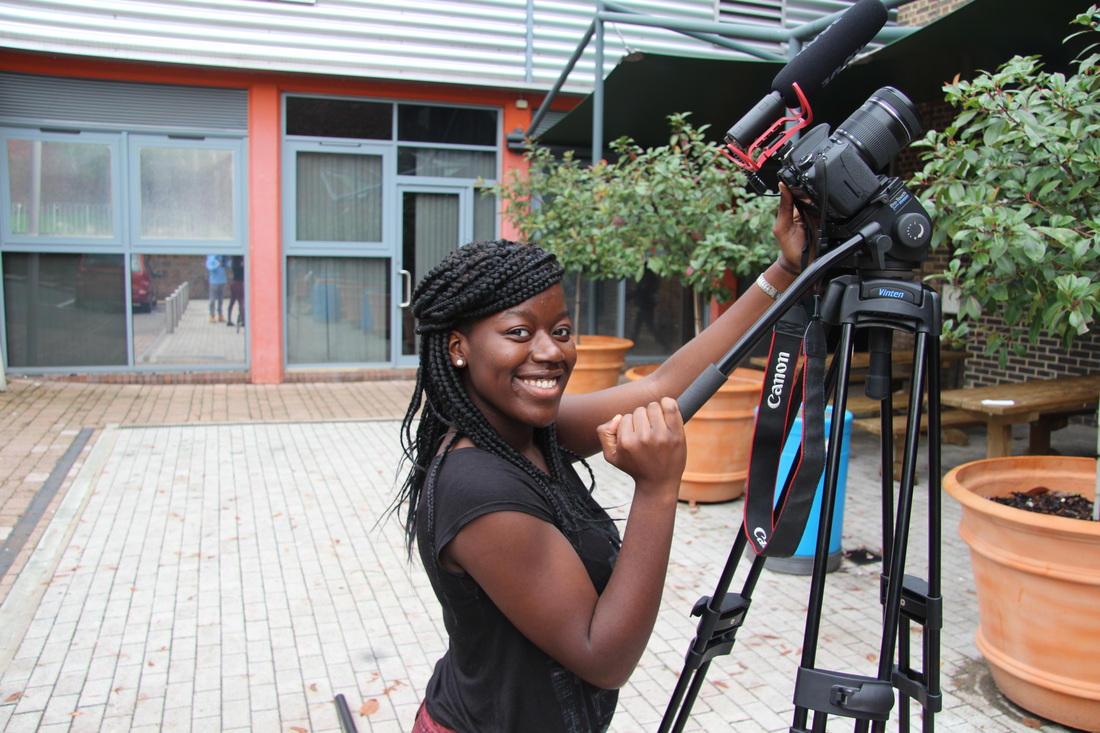
This picture shows the work during our second camera session. We were using the tripod while trying to shoot an establishing shot out of a high angle.

This picture shows where we tried out various things with the handheld rig.
|
Camera Equipment
This following section gives some brief description of filming equipment we used or others that are really common in the film industry.


|
The handheld rig is first of all to keep the camera in a more steady position, but also it is ideal when shooting POV or any running/ chasing scene.
|
The small tracking dolly is used for tracking shots from a low angle perspective. It is often used to capture someone walking from a low angle.
|
The tripod was probably our most used gear, as it give the camera the highest stabilization you can achieve. Most of the times we used it for establishing shots.
|


|
The steadicam can get really heavy after some time using it. However as the name says it is commonly used for following people (steadicam). The arm where the camera sits on, balances the camera through weights at the end in a steady position.
|
The big tracking dolly is really common in the film industry, as it makes it really easy to film and follow objects while staying a steady position.
|
The camera crane is the best device when it comes to shoot from a high angle as well as a crane shot. Unfortunately we did not use this device.
|
Real Media Text Inspirations
This Section gives some examples of real media texts that influenced me in style, shots and angle. Most of the shown examples are likely to be used in our final product.
|
The trailer of Friday the 13th is a good example of a trailer where the audience can follow briefly the narrative of actual film. The type of shots that were inspiring are mainly those used for the establishment of the scene. Also it shows throughout the trailer a number of various reaction shots, where the audience cant really see anything of the aggressor. Furthermore they mainly used sequences of quick cuts, which were predominantly close ups to better capture the reactions. In this particular trailer I like this style, especially as it builds up tension and makes the audience keen to know what is going to happen in the actual film.
|
The trailer of the film "I spit on your grave" is a typical horror-revenge trailer. The first half of the trailer mainly shows the victim, whereas in the second half the aggressors are predominantly represented as the victims. I like the shooting style of this particular trailer due to the clear cut after each shot, which is then followed by a caption that gives the audience informations about the narrative. Also the representation of the protagonist at the beginning appeals to me as she is shown through numerous different shots, which are also supposed to establish the scene. Furthermore the trailer starts with an equilibrium and leads on to the disequilibrium which is a common convention in the horror genre.
|
The trailer of the film "Evil Dead" was the trailer we also used as a template for our storyboard and anematic, which therefore is our main guide in terms of shots as well as lengths of the shots. Furthermore the thing that appealed the most to me in this trailer is how they used the large amount of quick cuts to capture emotion as well as torture. In comparison to other horror trailers, this trailer completely exaggerates the amount of cuts in the first minute, which however is not necessarily bad, as it builds up more tension and gives an overall nice structure. I will be trying to include most of the shots the trailer offers, as it introduces a different type and style that will benefit our final product.
|
Evaluation

While going through the production stage, one of the main skills I gained was to use a camera more confident. It also helped to develop the ability of knowing what type of shot to place in a particular scene.
During the filming progress it was my task to assist the technician as well as filming particular shots. The main issue that challenged all of us was to set up the camera so that it always is in focus. Fortunately the technician assisted us to guide us through the whole process. The things I have learnt from my three camera sessions were helping a lot to give the quality of the shots a professional layout. Furthermore while filming in dark rooms (e.g. gym cupboard) it was crucial to set up the right lighting, as we were trying to avoid creating new shadows. Overall I can happily say that the preparation and guidance of our school technician were one of the main factors for our success during shooting as well as finishing all shots at one day.
During the filming progress it was my task to assist the technician as well as filming particular shots. The main issue that challenged all of us was to set up the camera so that it always is in focus. Fortunately the technician assisted us to guide us through the whole process. The things I have learnt from my three camera sessions were helping a lot to give the quality of the shots a professional layout. Furthermore while filming in dark rooms (e.g. gym cupboard) it was crucial to set up the right lighting, as we were trying to avoid creating new shadows. Overall I can happily say that the preparation and guidance of our school technician were one of the main factors for our success during shooting as well as finishing all shots at one day.
